Re-Fashioned H&M Dress

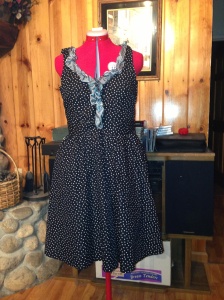
My mother bought this dress but it was a little small so she gave it to me. I loved the polka dots and the 50’s style but it was a little bit large in the bust and I did not like the giant rosette on the front so I got my scissors and seam ripper and got to work.

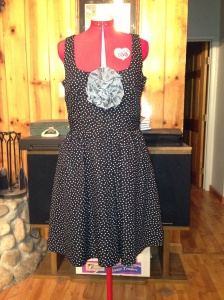
Here is what the dress looked like before:

image

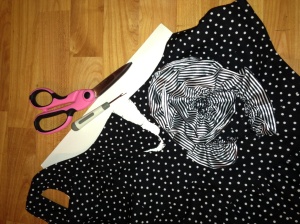
I carefully took the scissors and cut around the sides of the rosette where it was attached to the dress down the center. Then I took the seam reaper and cut all the seams on the inside of the dress until the rosette ribbon came free.
image

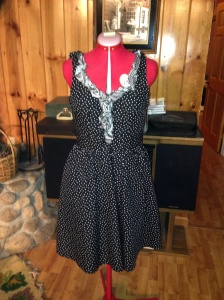
Then I shortened the straps a little and pinned them. I sewed in a little piece of fabric where I had cut away the rosette knowing that it would be covered up eventually. Luckily the rosette ribbon was already sewn together so I just took one end and pinned it to the shoulder and flattened it a little and worked my way down the bust line and back up again. The last step I did was hand stitch it into place.

Here is an after picture I took when I was just playing with it to see how it would look:

image

Do you have something just sitting in your closet that could use a makeover or a refashion? Get creative and share your project or blog in the comments or email me at RaczErica@yahoo.com with before and after pictures with your name and where you are from and I might feature it on my blog!

Gift Basket Filler

The other day I went to make a thank you Gift Basket and they didn’t have the nice paper filler at any stores near my house. I decided to get creative and this is what I came up with.

Here is a video preview of tutorial: http://animoto.com/play/1FRVat9hBJoO7i4cf2HuWw

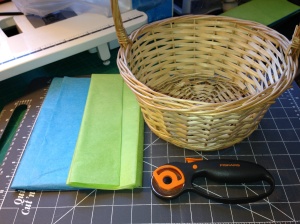
You will need:

Gift Basket
Tissue paper – about 2 sheets for a small gift basket
Rotary Cutter (you can also use scissors, paper cutter or a paper shredder)
Cutting Matt (not needed if you use one of the other tools)
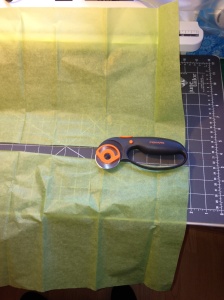
image

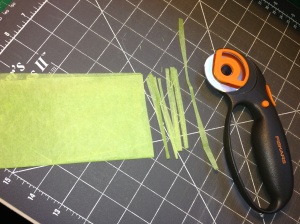
Begin by cutting the tissue paper in half.
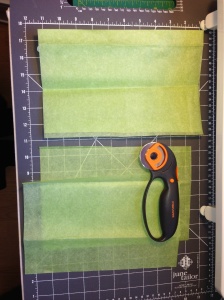
image

Take each half and fold them in half twice and cut along folds so that you end up with four smaller pieces.
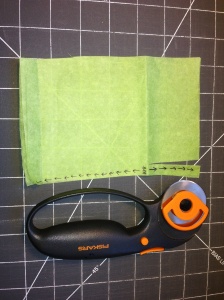
image

The last step is cutting the strips of paper. I usually cut larger strips to bulk up the bottom layer and add thinner strips on top.
When cutting more than one sheet with the rotary cutter, make sure you hold the tissue paper down flat with your other hand otherwise the tissue paper will become uneven. Also, begin the cut an inch or two from the top and cut upwards first and then cut in a downwards motion to get nice straight strips.
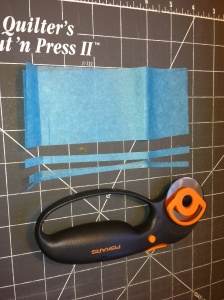
image

Your strips should look like this:
image
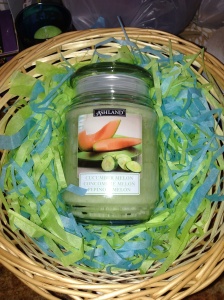
imageHere is what the finished basket with the tissue paper filler looks like:
image
image

Button Purse – Part 1

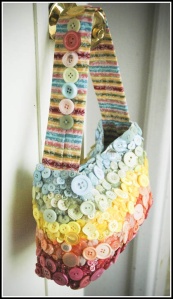
I am so excited about the current project I am working on. I recently came across the amazing Button Purse on Pinterest and since then, the wheels have been turning.

href=”http://www.craftster.org/forum/index.php?topic=287652.0#axzz2UpU6xb6z”>image

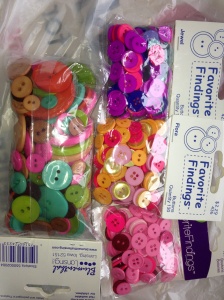
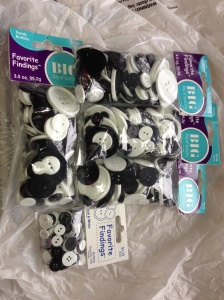
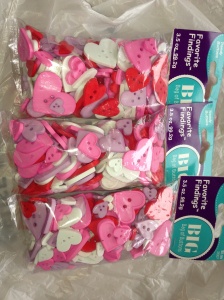
I am an avid new and vintage button collector (I usually buy in bulk or specialized on EBay). However, I want my buttons to be new and similar so I was able to find some great deals from Walmart and Becerly’s, here is a sample of some bulk buttons I found which code an average of $0.015 each:

image
image
imageI will be making a few different purses and right now am just sorting them out by size and color. I will update as I go and eventually have one tutorial with purse pattern available.